|
Click On Any Photo To See Large Version
Use Your Back Button To Return |
|
 |
Here is the New Steam Dome Cap.. it is alot thicker and flat.. the
Brass items are the Seats for the Safety Valve's! |
|
 |
We have to Hammer test the Air Reservoirs on both Diesel 19 and
Locomotive 487, we run water in one side of this pump and hook up
the other to the reservoir, we then fill the reservoir with water
and pump it up and wait a while to check for leaks. |
|
 |
These are Diesel 19's Air Reservoirs, there are in fact 4 of them..
March 31st 2004. |
|
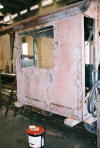 |
This is 487's Sand-blasted Cab, March 31st 2004. |
|
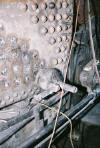 |
Here is one of 487's Blow-down valves installed.. |
|
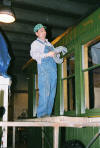 |
Ronnie, applying new Logo's to a freshly painted Car.. |
|
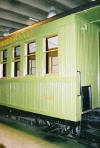 |
Freshly Painted Car... 503, ready for service! |
|
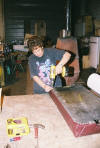 |
Teresa Martinez re-upholstering the Passenger Car seats. |
|
 |
Your Looking at the Steam Dome, i was installing new bolts at this
time. |
|
 |
The New Dome required us to install bigger bolts, we had to remove
the old bolts.. with Tommy's help, I threaded the bolt holes and
made measurements, those measurements were used by Tommy to make and
machine the new bolt. These Bolts are Tapered to fit.. and are
designed to fit hand tight with about 3 threads left, then they will
be tightened down. And these Bolts will hold down the Steam Dome
Cap. |
|
 |
We are on top of the Boiler, we are installing the Flexible
Staybolts...April 1st 2004. |
|
 |
Here is a shot of the steam dome.. all those letters and numbers
don't mean anything.. that is the way i kept myself from getting
confused as i was doing the bolts.. i would thread one and clean
another.. while tommy was machining one.. |
|
 |
Here is a shot of the Firebox sheet on 487, you can see all the
small tubes have been rolled back into the sheet. |
|
 |
Here is the Crownsheet patch, we are installing the staybolts. The
bolts are tapered and so much be installed upward. |
|
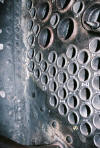 |
Here is a close-up of the rolled back flues, you can see how the
metal actually bends back and seals against the sheet. |
|
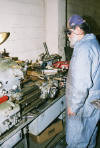 |
Tommy machining the Steam Dome Bolts.. |
|
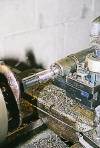 |
Here is one of the Bolts being cut on the Lathe, the bolts come with
a portion of the threads or none at all and our machinist cut them
to to fit.. |
|
 |
Here is the installed Flexible Staybolts... Now they need to be
trimmed down to fit under the Caps, like the other ones in the
pictures! |
|
 |
Now if you look closely you can see some details here.. the
staybolts are secured in 2 ways.. they are threaded into the Firebox
sheet and above and in this picture, they come up thru the exterior
sheet into the ball cups you see here. But they are still loose, if
you look at the 2nd staybolt it has a ring on it, that ring will be
threaded down into the ball cap below, where it will secure the
staybolt in place... then it will be cut down and the Cap will be
placed on top and tightened down. |
|
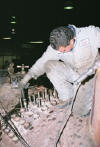 |
Here Joseph is tightening down the rings on the staybolts with a
home-made tool. |
|
 |
Here we are looking at the installed staybolts on the Firebox side. |
|
 |
Here are the Bolts being installed. You can see the Taper in the
Threads. |
|
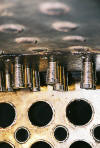 |
Here is a close-up on the Tapered Staybolts... they have been
threaded into the Sheet, we will then cut them to fit and hammer
them down like the rest of the Staybolts. |
|
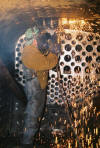 |
In this Picture Ronnie is cutting down the Staybolts to size.. |
|
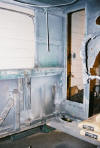 |
Here is 487's Cab, sand-blasted and stripped of its interior wood.. |
|
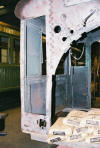 |
Here is 487's Cab, its gonna look sharp with Fresh paint and
Lettering. |
|
 |
Whoo Hoo. I finished installing the Steam Dome Cap Bolts.. |
|
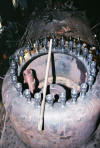 |
Thats alot of Bolts...April 2nd 2004. |
|
 |
Here are the Installed Staybolts, now we will cut them to fit... |
|
 |
A close-up of the Steam Dome Bolts. |
|
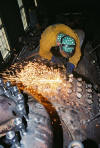 |
Here is Ronnie cutting the Staybolts... I have always loved to watch
these Spark shows! |
|
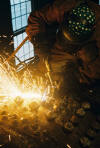 |
Here is one of those Artsy Photo's... |
|
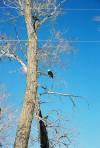 |
Here is Bald Eagle on a lone Cottonwood Tree.. Well that is all
folks.. hope you are enjoying the Web-site, Thank you for all the
Great E-mails. |