|
Click On Any Photo To See Large Version
Use Your Back Button To Return |
|
 |
Here is a Beautiful Shot of a Model 463, it is
owned by Paul MacFarland... ain't that just a Beautiful Thing... My
Buddy Dean Lowe sent me this Picture and I have a few more to show
you.. Thanks Dean. You know Dean, there is still a few Piece's of
Coal in 463's Tender in the Shop... thats the coal that was in her
on her last run from Chama with me at the Throttle... You could
crush a few piece's to put in that Model 463....... |
|
 |
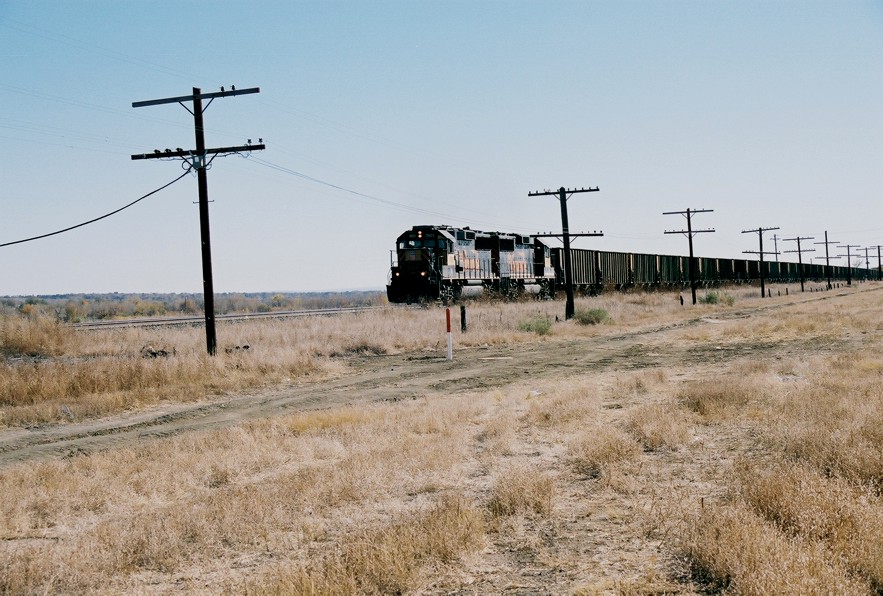
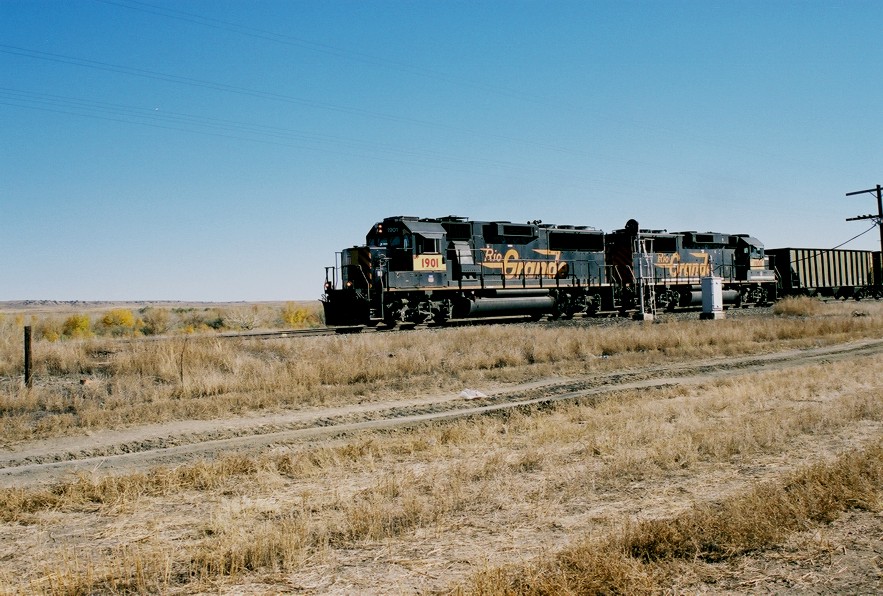
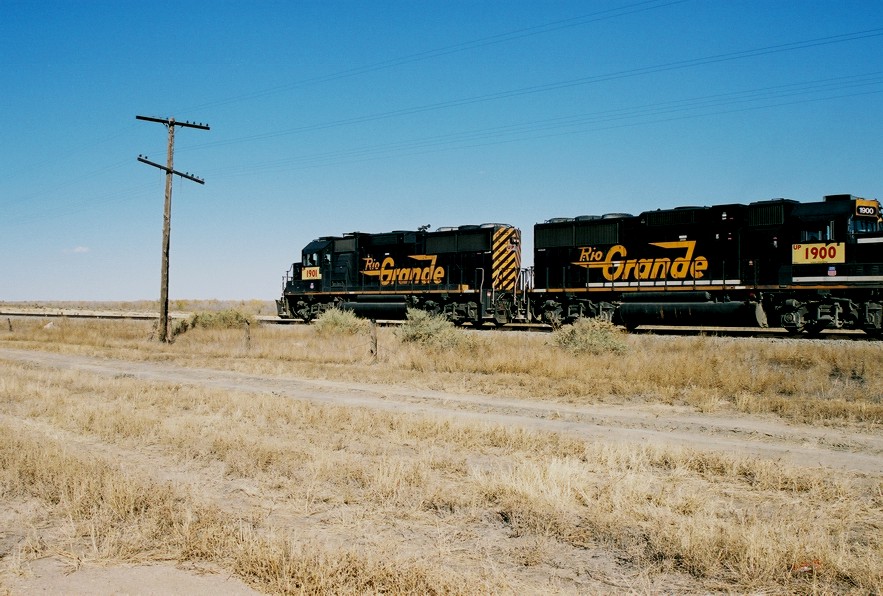
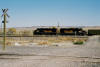
Ex-D&RGW Locomotives Fresh from Rebuilds burn up the Rails North of
Pueblo, it does the Heart Good to see the Rio Grande Emblem still
Riding the Rails..
Check back
here for the Shop Log Updates... Monday 22nd, 2004:
Antonito Shop.. We have another Car in the
shop this morning and we began work on it.. I also went over to
Chama this Morning and attempted to bring Diesel 19 back to
Antonito, I didn't make it.. I had a bit more snow than I expected
and made it about 1/2 a Mile past Cresco Water Tank before I stopped
and returned to Chama.. I had a Electrical Fault and Decided to not
Risk damaging The Diesel 19 and Drifted Back into Chama.
Monday 22nd, 2004: Chama Shop Update:
I did get into the Chama Shop today and took some Picture's.. The
488 is still undergoing rebuild... all the Rods are off the
Locomotive and the Crew has had to Take the Number 2 & Number 3
Driver Wheels and Crown Brass Boxes out of 488 for some
Adjustments.. Not sure of the Cause.. But only the Number 1 & Number
4 Driver Wheels are in the 488.. all the Rods are off. I did take
Picture's today, Monday 22nd of the Chama Shop and 488 and those
will be on the website next Update.. The Cab Plumbing is in Place as
is the Injectors and Plumbing and Inspirators.. Tuesday
23rd, 2004: Antonito Shop Update. We have
Car 504 in for Repairs, we did some work to the Roof and checked all
the seats and Wood Trim, we also jacked up the B-side of the Car and
Checked the Truck... we Finished that today and proceeded to lift
the A-Side of the Car. We did some minor repairs to the Brake Pipe
as it was rubbing on the wheels on Curve's................
Tuesday 23rd, 2004: Chama Shop, No
Update. Wednesday 24th, 2004: Antonito Shop Update:
Car 504 still in for repairs, we dropped the
Centerplate and replaced the Old Rivets with new Bolts.. that
tightened up the Centerplate.. we also went thru the A-side truck
and made new Pins for the Brake Rigging Hangers and also rebuilt
some wear on the Hangers supports. We also began preparations for
484's Fire up this next week, 484 has all her parts in order and all
hoses have been re-connected,, we will add a Steam Line to the
Mechanical Lubricator for the Cold Weather as this was not installed
in Chama, but will be needed for the Cold Santa Claus Train. We will
continue Preparations when we go back Tuesday, after the Holiday. We
will bring Car 504 back into the Shop at a later date for new
Wheels, today we rolled 504 out and rolled the "Quinlan Parlor Car"
into the Shop. Wednesday 24th, 2004: Chama Shop Update, no
update. |
|
 |
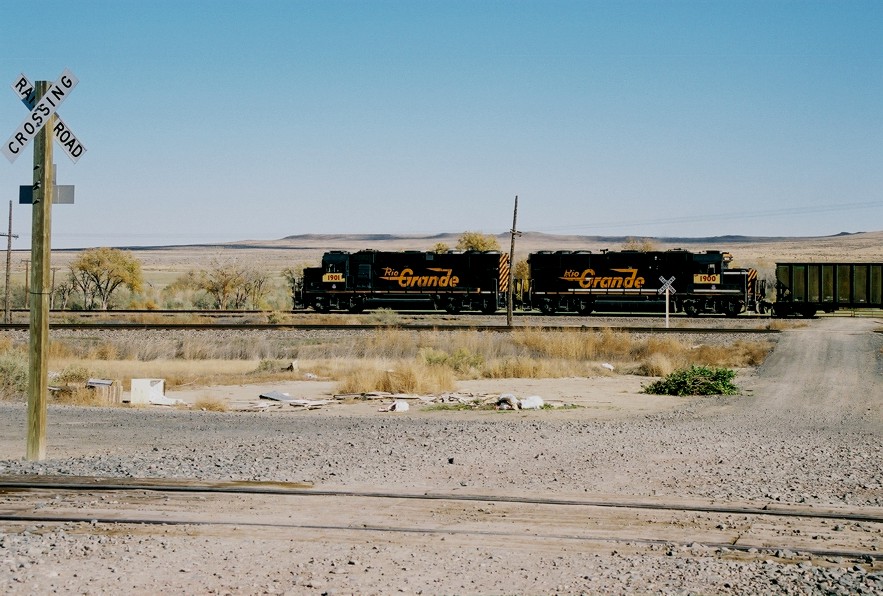
Now they have New Numbers 1901 and 1900 and a little yellow Paint
and a UP Logo on the Nose, but the Rio Grande still shines thru. |
|
 |
They were doing about 50 MPH, not very Loud and hardly any Smoke..
they were in Great Shape.. and it took me a while to catch them,
they got the Green and they Burned the Rails up coming out of
pueblo... |
|
 |
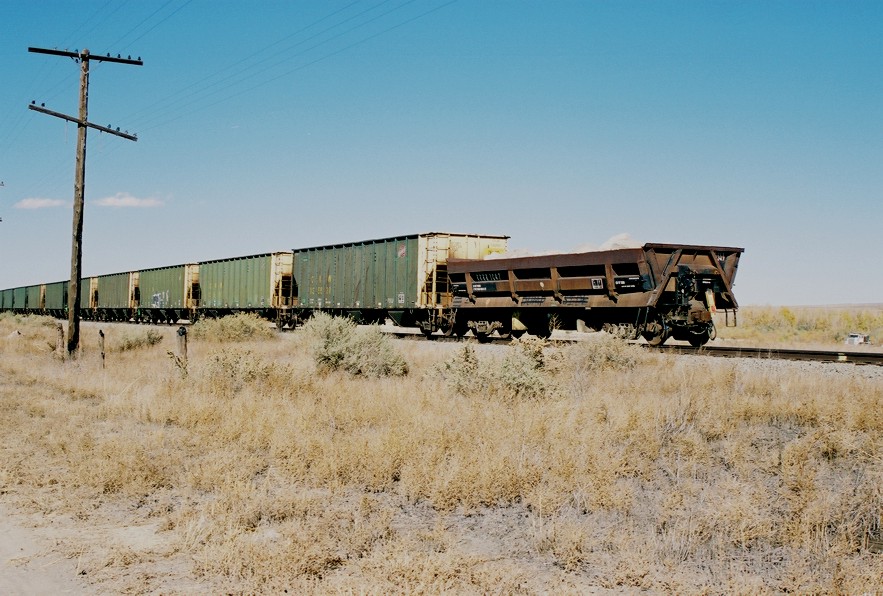
There was one Unique car at the rear with Giant blocks of stone in
it.. |
|
 |
I could have chased them farther, but I had to head Home... I would
love to see these Locomotives again someday.. |
|
 |
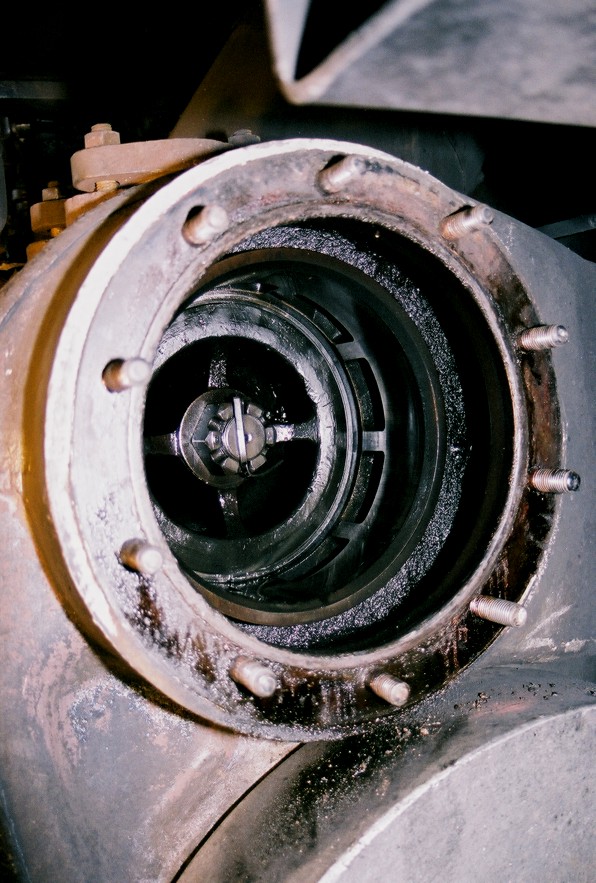
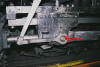
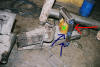
You are looking at the Left side of 484, We Pulled the Covers to
check for Something. |
|
 |
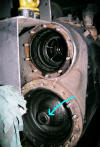
Here is the 484 Engineer side Piston Valve's.. you can see the Steam
Ports in the Cylinder. |
|
 |
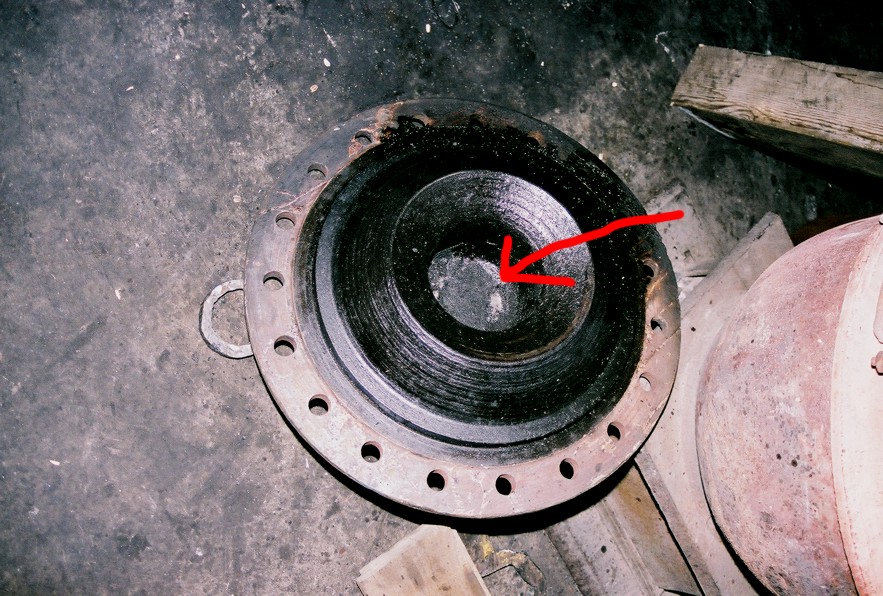
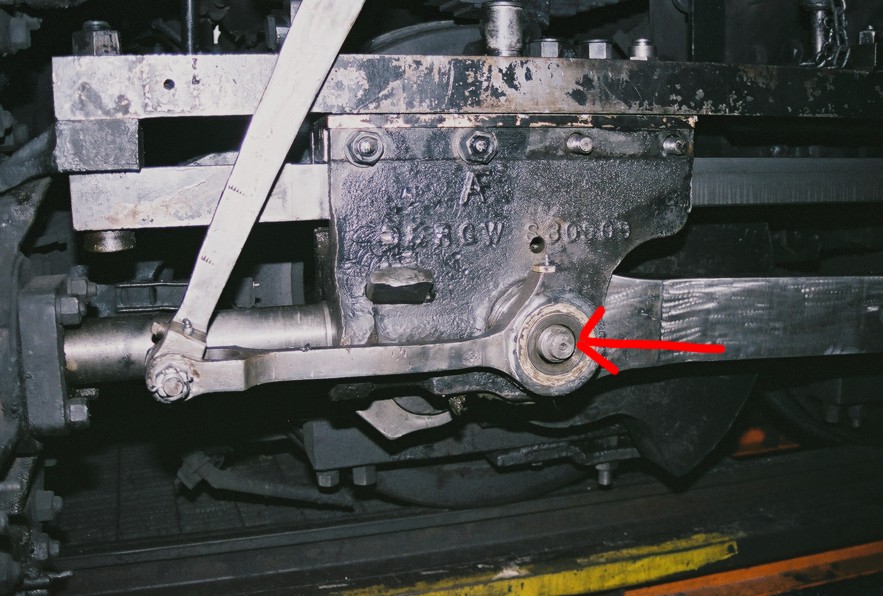
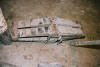
Now here is the Cover of 484's Left side Piston, follow the "Red
Arrow" and you can see a few marks... the Nut from the Piston rod
was hitting the Cover here a little while it was loose. |
|
 |
Now follow the "Light Blue Arrow" and that nut is what holds the
Piston on the the Piston Rod.. it had come loose and we had to
tighten it and make a adjustment to keep it from coming loose
again.. |
|
 |
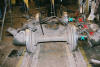
Initially I had brought the 484 back to Antonito and had noticed a
Massive Knocking on the Left Side while the Locomotive was Drifting
or Rolling without power.. we started from the Beginning and checked
everything.. we assumed we had Bushing damage on the Crosshead, so
we removed all that and checked, no Problems.. so we came to the
Conclusion that the Piston was loose and in fact it was. Look at the
"Red Arrow" we actually removed the nut and dropped the Main Rod
From the Wrist Pin to check the Bushings. |
|
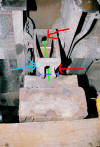 |
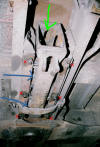
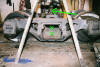
Now the "Light Blue Arrow" points to the Draft Gear.. The Yolk of
the Coupler sits in this box of sorts.. when in Position the coupler
connects to the Draft Gear by a pin, the Pin slides upward following
the Path of the Green Line.. then a Bolt follows the Purple line and
keeps the pin up in position. The "Red Arrows" point to the Holes
that the Coupler Pin sits in while in Position. |
|
 |
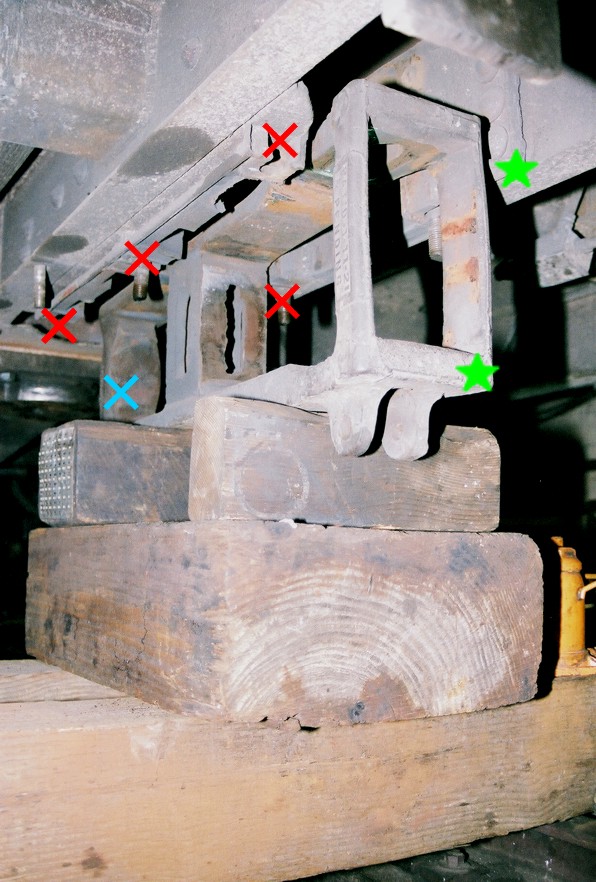
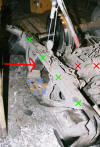
Now here is a lowered Draft Gear, when in place the Draft Gear sits
higher up and the "Green Stars" will Actually sit side by side.. the
"Red X's" are the Bolts that hold the Draft Gear up and Starting
from the "Blue X" the interior of the Draft Gear Consist of A Heavy
Metal Plate then a Spring, then another Plate, the Middle section of
the Draft Gear, then another Heavy Metal Plate, then a Spring and
another Heavy Plate and eventually the Coupler itself. This is
Probably one of the Hardest Repairs to make on a Passenger Car, we
have to do this standing up and over our Shoulders... this will make
your Shoulders hurt by the time your done, it is Heavy and Unstable
Work.. |
|
 |
Now the Draft Gear is in Place, If you look at where the "Blue
Arrows" are pointing to you can see the Springs that absorb the
impact from Coupling. The "Red X's" are Pointing to Bolts that are
holding plates in place that are in turn holding up Thick Metal
Plates that are on Both sides of the 2 Springs that sit inside the
Draft Gear.. This Combination holds that Draft Gear up and in Place.
If you look closely, you can see a strap or saddle that sits under
the Draft Gear, that provides extra support although it is supposed
to never come into contact with draft gear... if the Draft Gear is
in fact riding on this Saddle it is High Time to work on and rebuild
the Draft Gear. |
|
 |
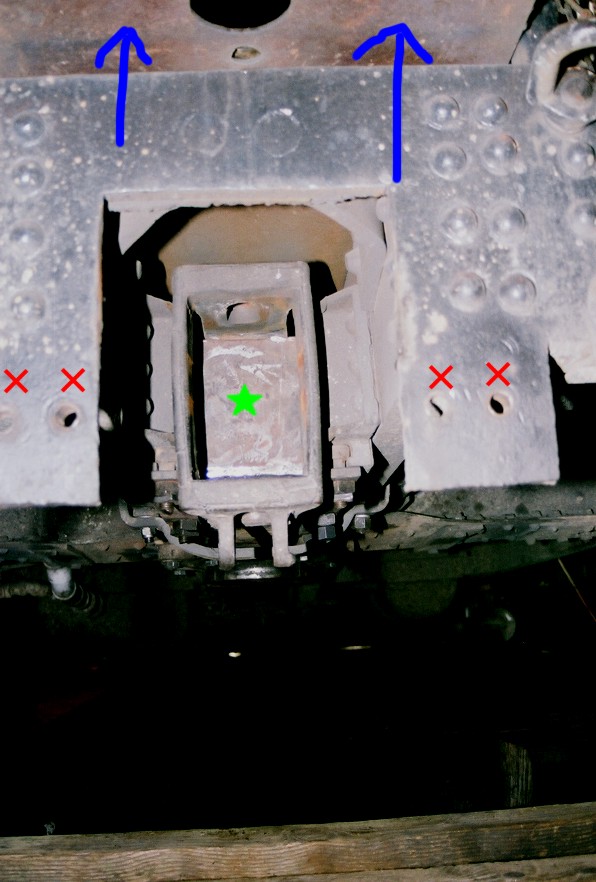
You are looking at the Completed and Rebuilt Draft Gear.. The "Blue
Arrows" are pointing to the Gang-way or the Walkway on which the
Passengers walk. The "Green Star" is where the Coupler actually
rides up against when the slack is taken in.. The "Red X's" are bolt
holes that hold a Angle Iron to provide support for the Yolk of the
Coupler. |
|
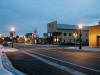 |
Here is a Photo From Train Docent Bob Hey, this is Chama at
twilight.. aren't those Street Lights Pretty.. |
|
 |
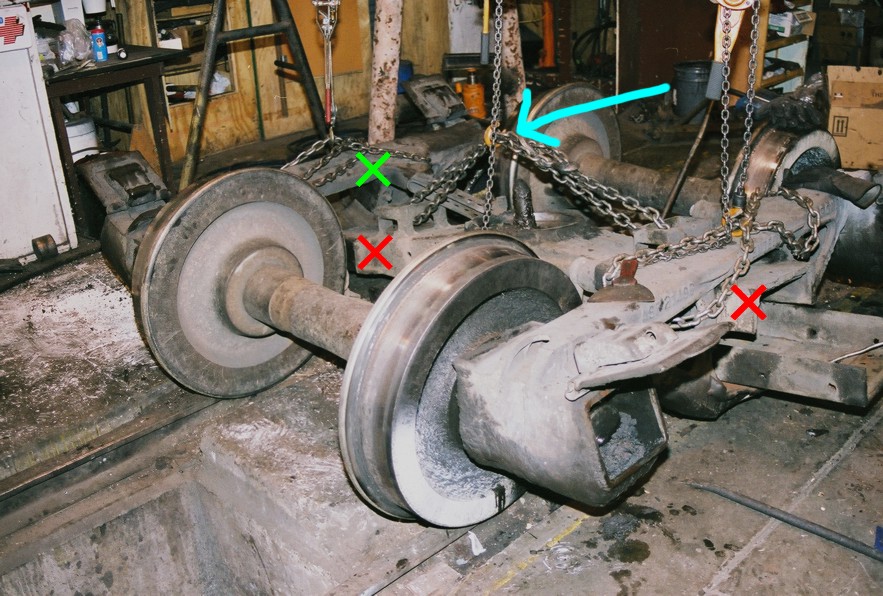
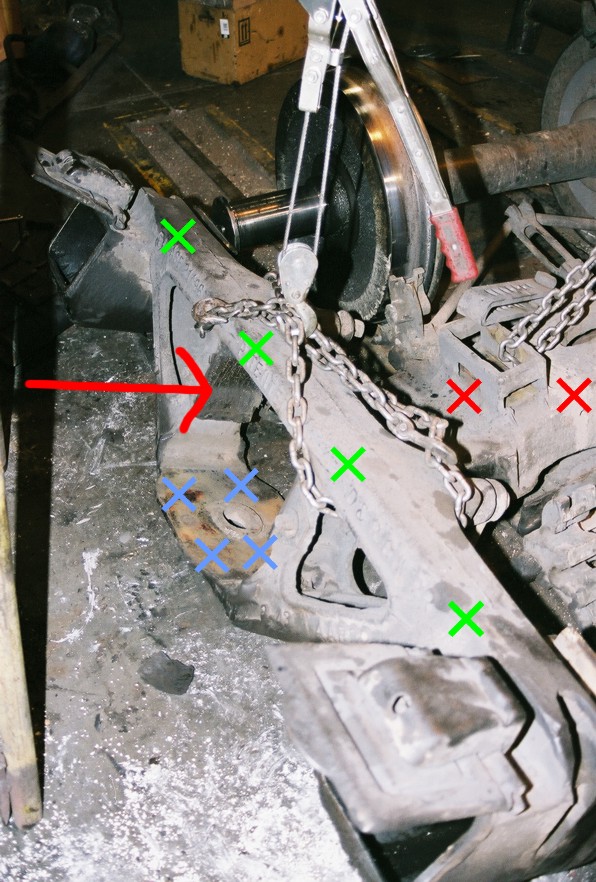
Now here we are taking apart a truckset, the Chain "Light Blue"
arrow is holding up the Bolster "Red X's". We have lowered the
Bolster on the Left side to remove the Side Frame "Green X" from the
wheels, then we will do the same on the Right side. |
|
 |
Okay here the Side Frame "Green X's" has been removed from the
Bolster "red X's" We will do work on the Side Frame and repair wear
where the "red Arrow" points to on the Strike Plates. The Area where
the "Blue X's" are is the place where the Bottom Channel sits and
supports or is the Bottom where the Spring Rests. |
|
 |
Again, you are looking at a Compressed Spring just removed from a
Truckset. the Square Item marked with "Light Blue X's" is the
compression tool that help us to do our Job.. with the Jack "Green
X" we can compress the Spring.. to counter the uneven surface of the
Spring we use 2 L-Shaped Plates marked with "Purple Arrows" to make
a level surface for the jack to sit on and the "Red Arrow" points to
a plate we put in the back of the assembly to prevent the jack from
slipping out and FLYING across the Shop. |
|
 |
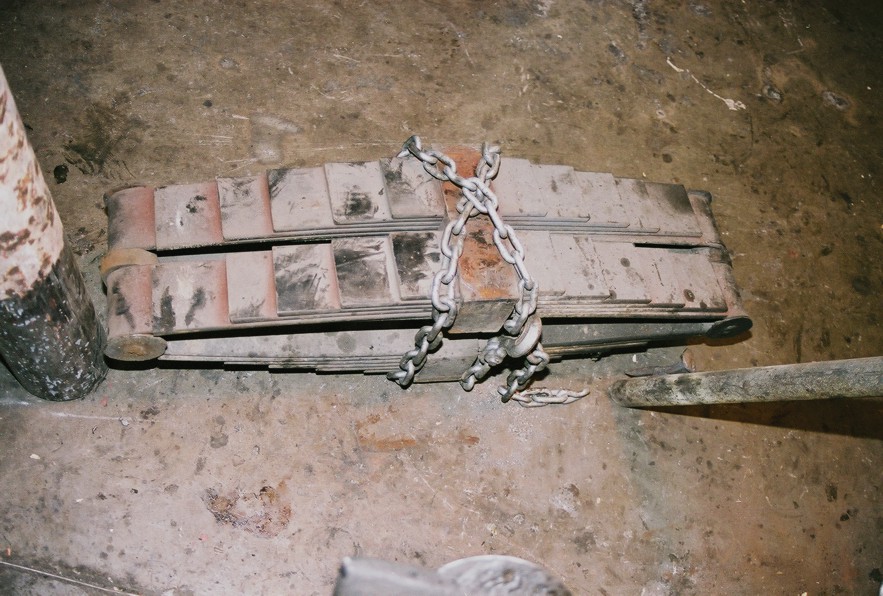
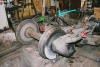
Here is another look at a compressed Spring, We have a Metal Box to
keep them Compressed but this Spring was a little wider than our
Box, so we had to use a Chain to keep this Spring Compressed. |
|
 |
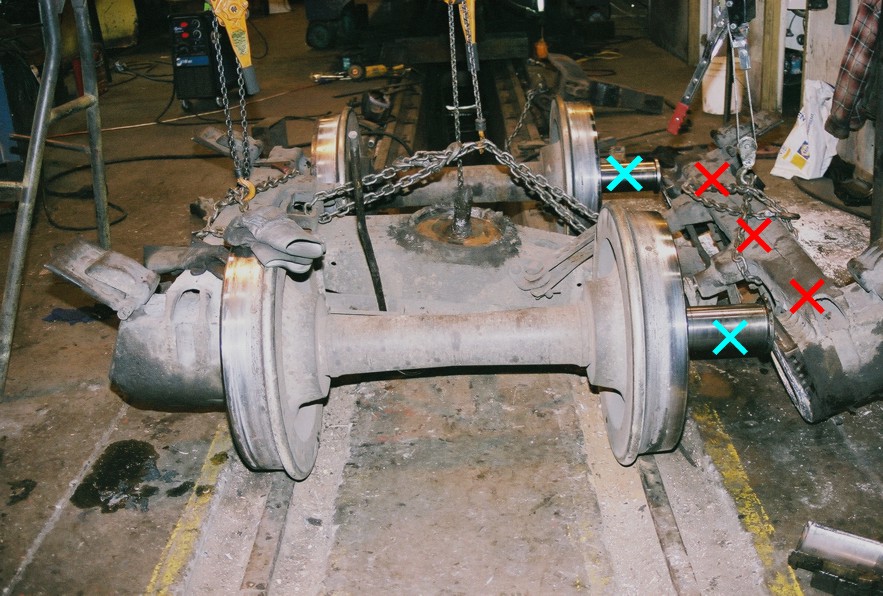
Now in this Picture we have removed the Side Frame marked with "Red
X's" and have exposed the Journals marked with "Blue X's". |
|
 |
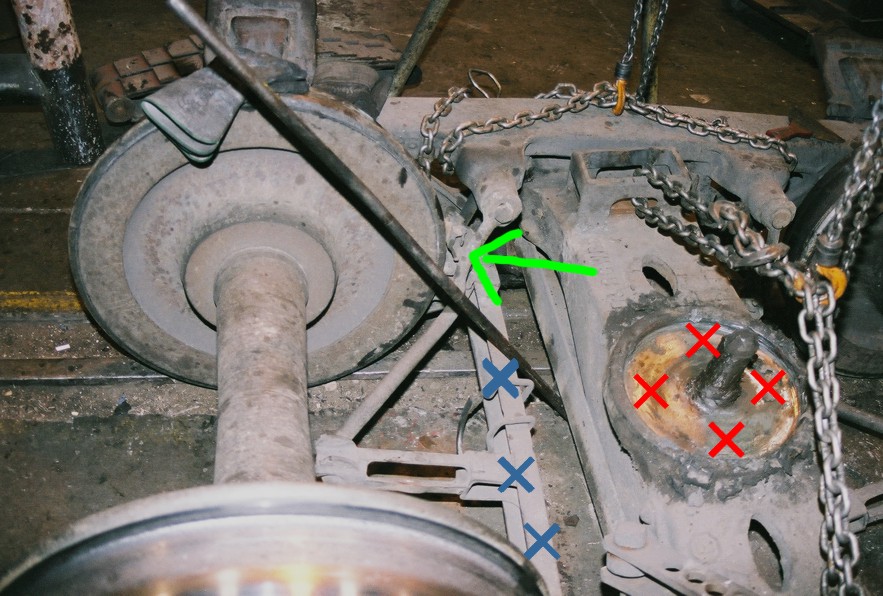
Let tell you a a little more about what makes a Truckset.. The
Bolster has a Cavity or indention. "Red X's" and this is where the
Centerplate of the Car Rides.. the Pin in the Middle helps
hold everything in place. Follow the "Green Arrow" and you will see
the Brake Head where the Brake Shoe sits and the Brake Hangers which
hold up the Brake Rigging. The "Blue X's" are part of the Brake
rigging and are what pushes the Brake shoes against the Wheels with
the main Power coming from the Brake Rods. |
|
 |
This is a Completed Truckset, all that we need to do now is install
the Springs in the Area marked by the 2 "Green X's". Then we will be
able to remove the Chain and Pulley holding up the Bolster "Green
Arrow". |
|
 |
Well its almost Thanksgiving and I would like to say how Thankful I
am to all of you for helping to make this Web-site such a Success...
this is your Web-Site, it belongs to all of you and I am just the
Lucky Guy who gets to take a Majority of the Picture's... without
each one of you, there would no Web-Site and no Railroad.. Best
Wishes to all and to all A Very Happy Thanksgiving.. if any of you
have any Leftover Turkey feel free to ship it to me...Carlos And
on another Note.. Thanks to all of you, My Family, My Friends, My
Co-Workers... and Thanks to my Sweety Erika, she has Brought a Whole
new Joy into my Life.. Love ya Sweety... I love this Picture, this
is Erika just Playing in the Sand making Castle's... Hair Blowing in
the Wind, Beautiful Huh... |
|
 |
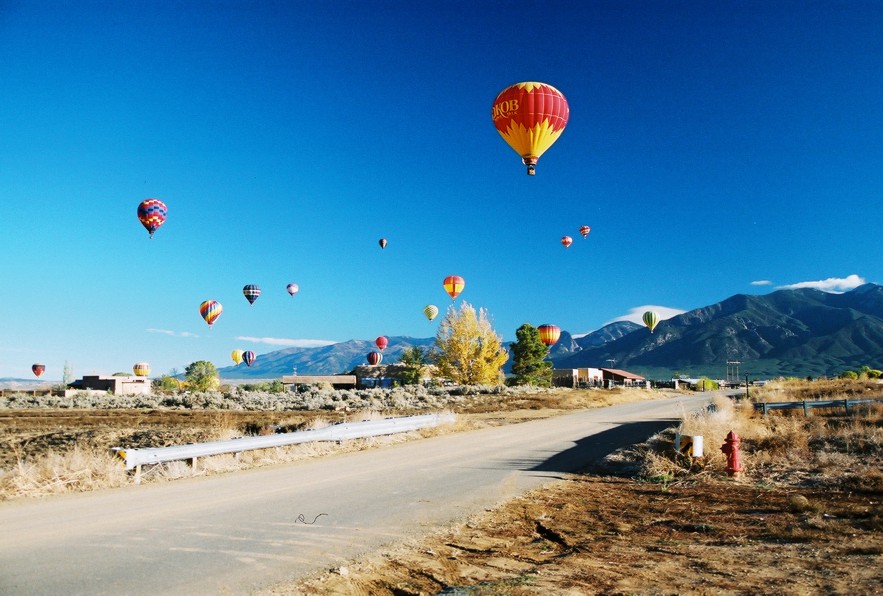
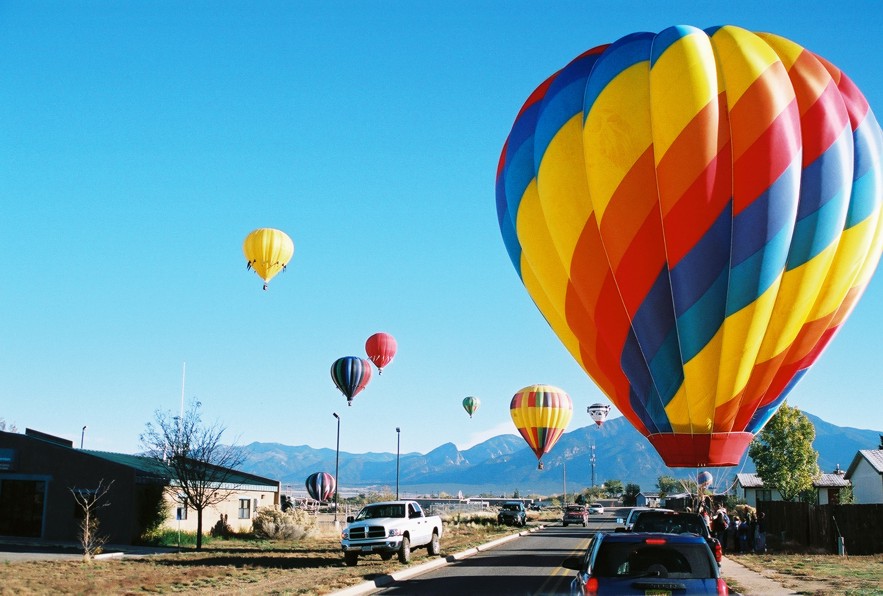
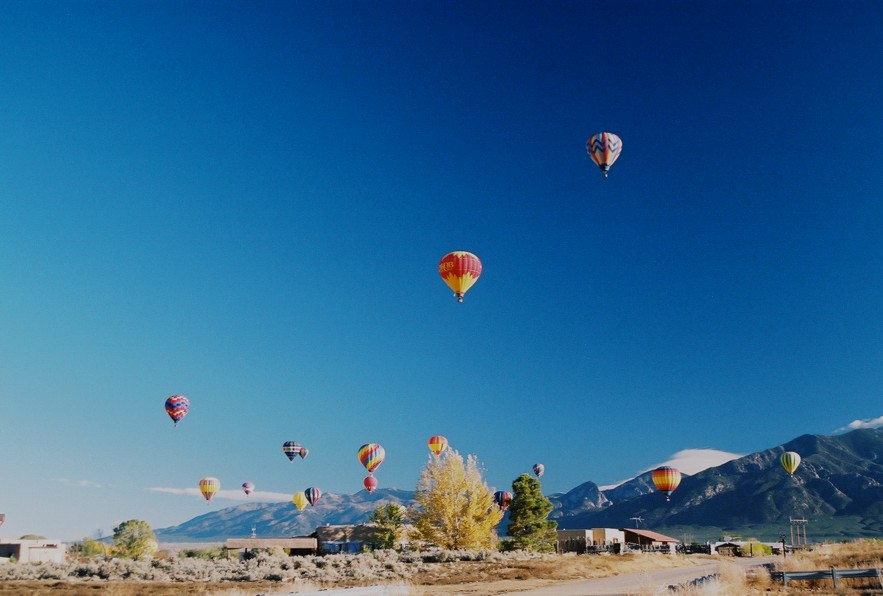
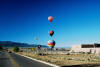
Here we are in Taos, New Mexico... its the 22nd Annual Taos Mountain
Balloon Rally... |
|
 |
This is the Second morning, We took off Early ahead of the other
Balloons doing what is called Dawn Patrol.. it was great for me.. We
landed, put away the Balloon and I was able to get these Beautiful
Shots... |
|
 |
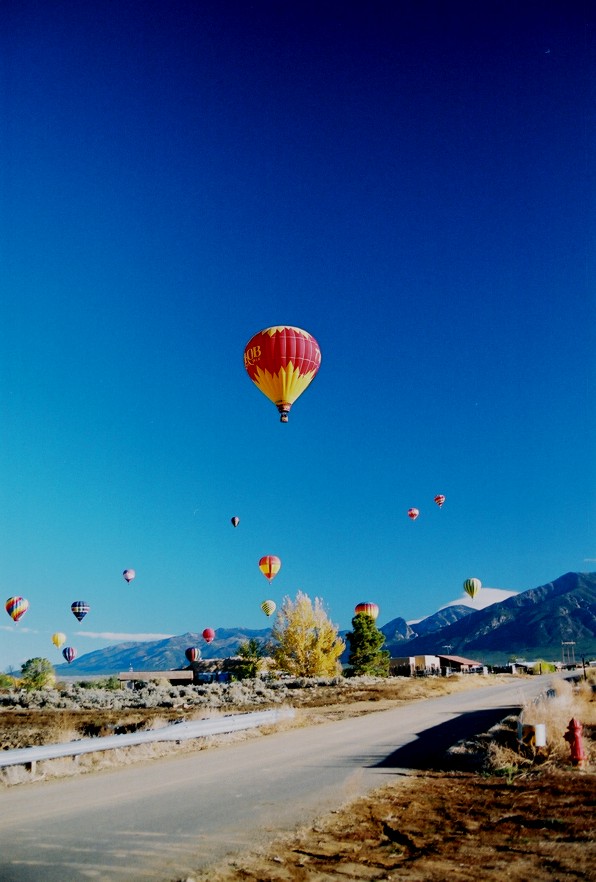
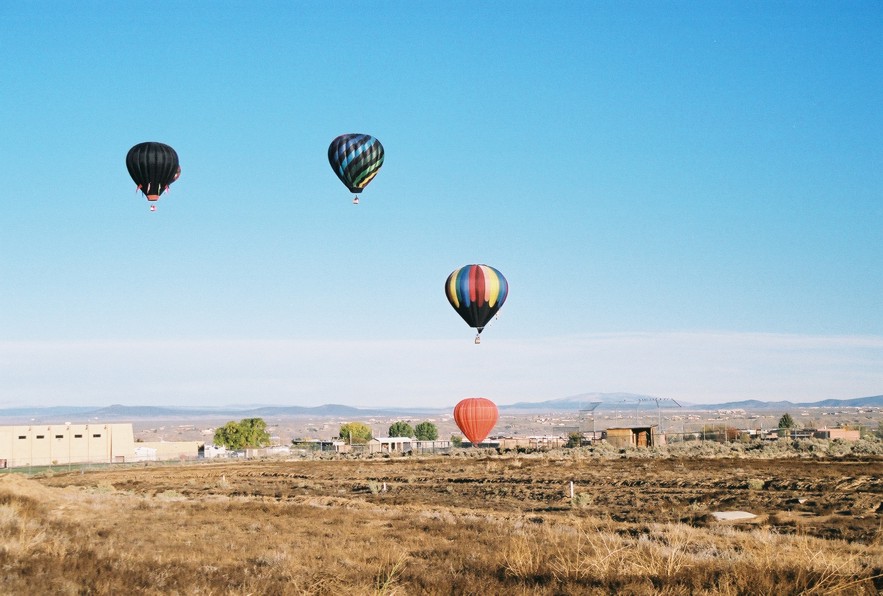
Beautiful Blue Skies and Balloons.. |
|
 |
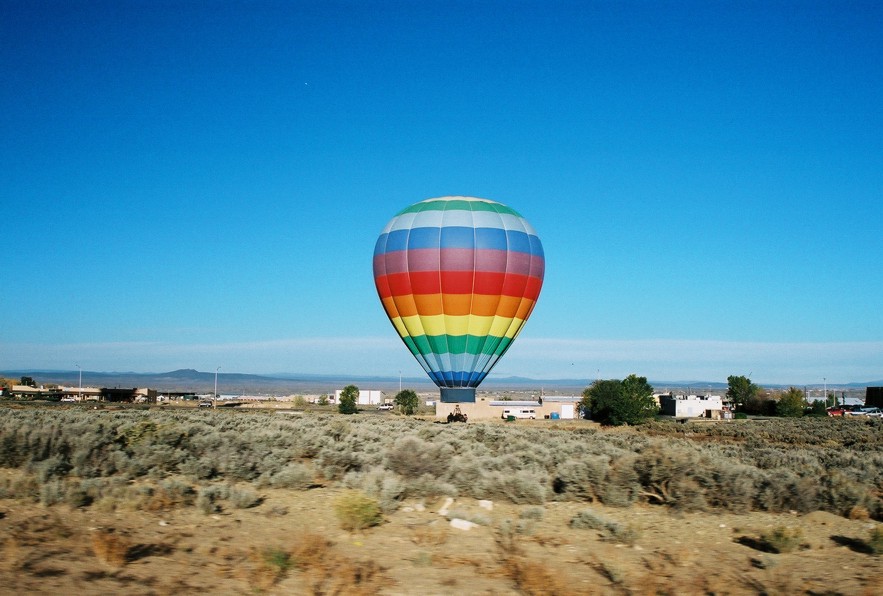
Another Balloon lands.. |
|
 |
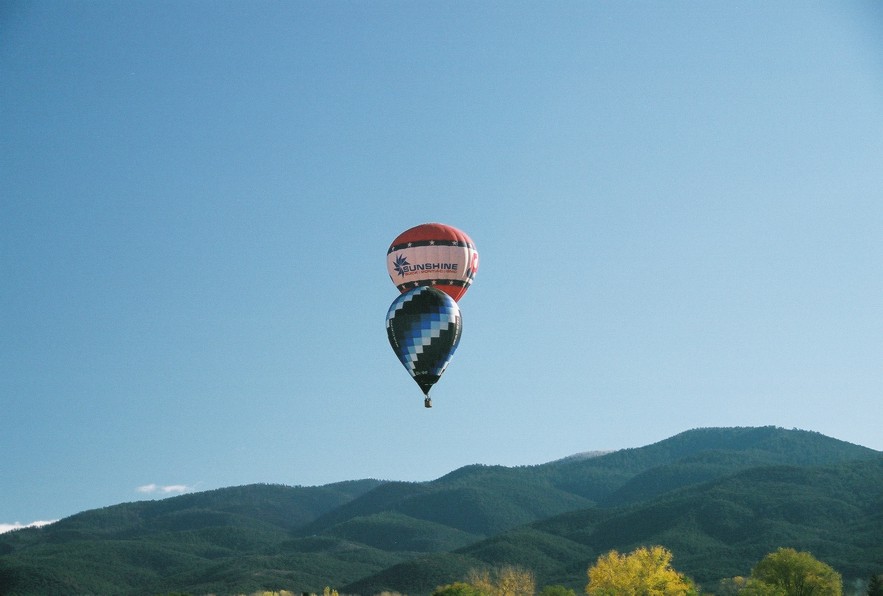
How about a Triple Decker... |
|
 |
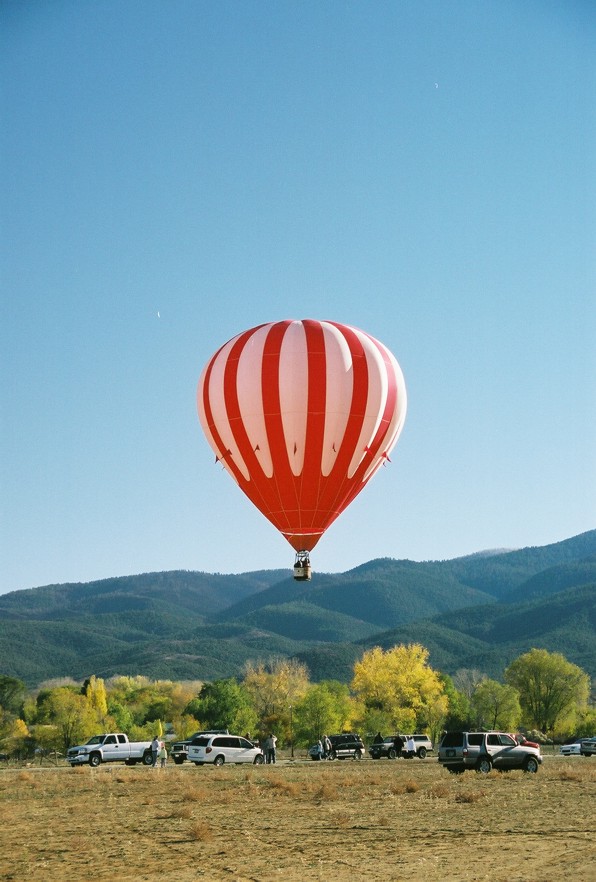
How about having a Balloon land in your Front Yard.. |
|
 |
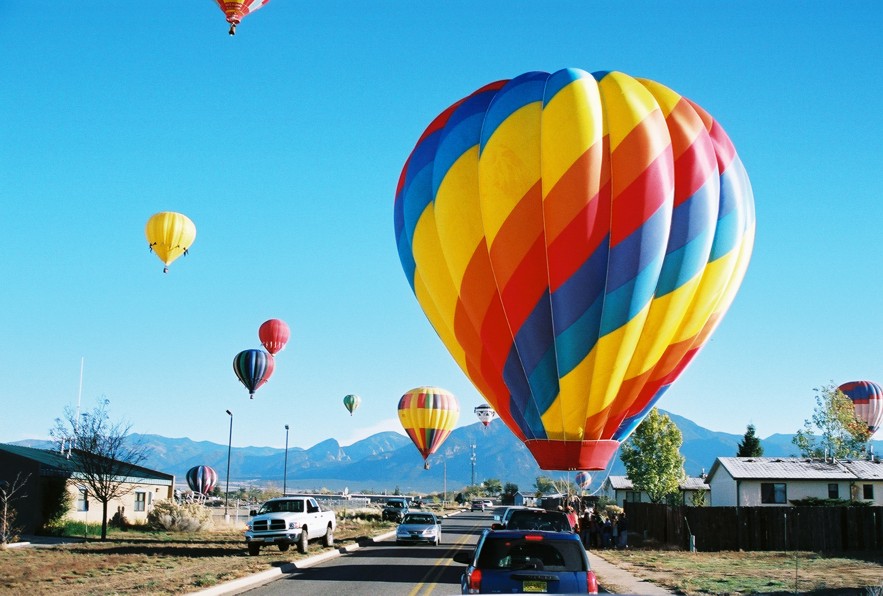
That's a Cool Balloon, I like those Colors. |
|
 |
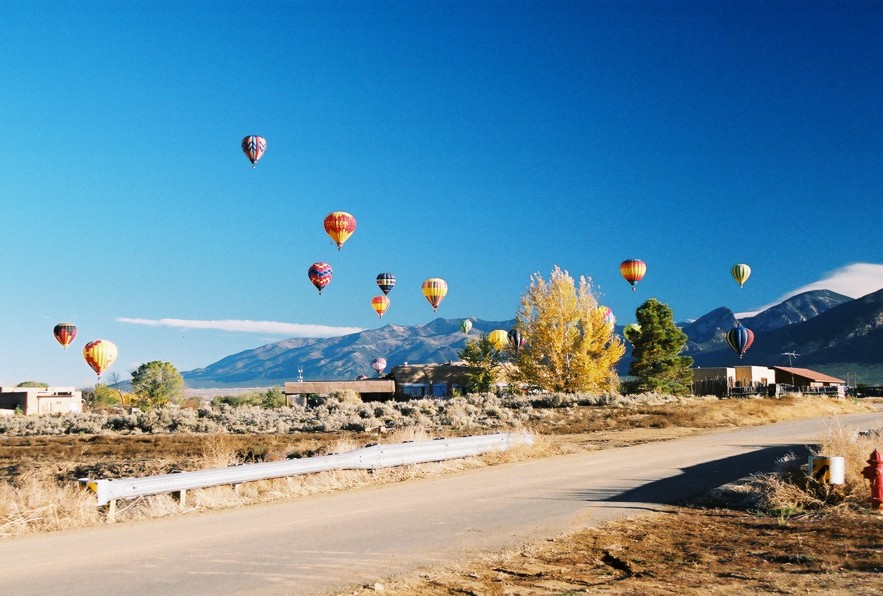
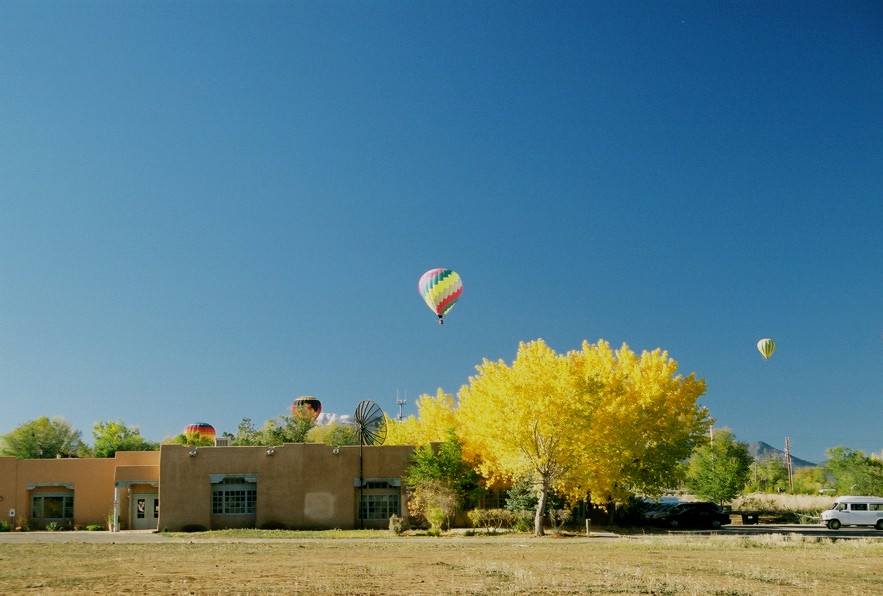
The Skies over Taos are full of Color. |
|
 |
Thats another Beauty of a Balloon. |
|
 |
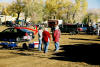
Hey theres my fellow Crew Members finishing up the packing away of
the Balloon. |
|
 |
I love the Sky and how is changes.. |
|
 |
Ain't that a sight to see. |
|
 |
This was a Beautiful Rally.. |
|
 |
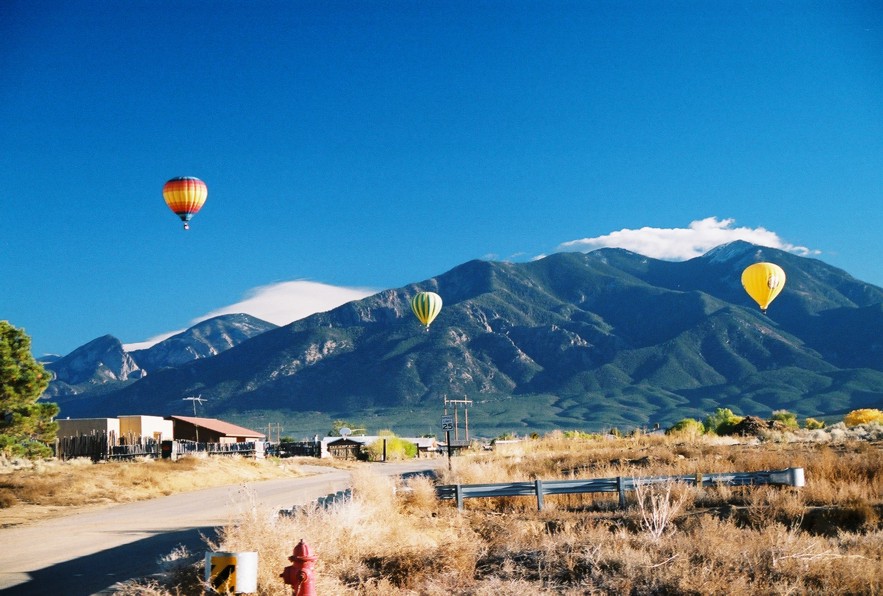
The Balloons look Great against the Mountains. |
|
 |
Man, I love the color of the Sky. Thank Goodness for Polarizing
Filters. |
|
 |
I am in Taos, where's Jeff Stebbins... I was expecting him to come
and see me.. |
|
 |
I thought these Balloons look Great against the Fall Colors of the
Trees. |
|
 |
I love the Colors and different Patterns... |
|
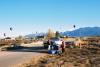
 |
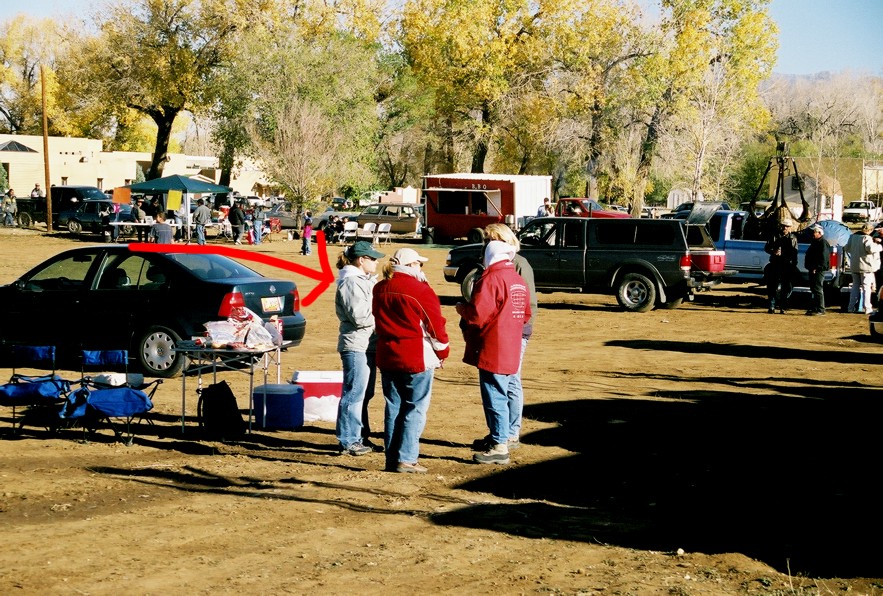
Here is some of the Crew tailgating, the Red Arrow Points to my
Sweety Erika, next to her Is a Young Lady who is working on Becoming
a Balloon Pilot and she works at Uncle Cliff's Amusement park in
Alburquerque.. Ain't that Cool..Thats Got to be a Great Job... Next
to her is Janet and Ailene who is the Wife of the Pilot of the
Balloon and the Driver of the Chase Truck.. |
|
 |
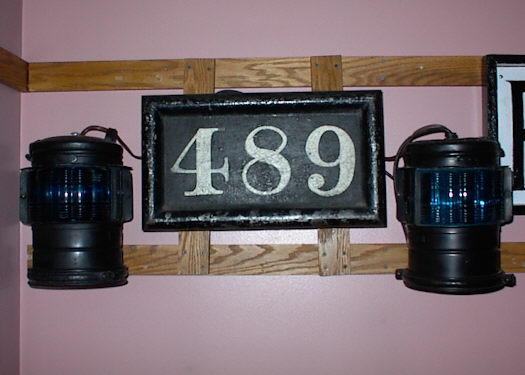
Here again are some more Picture's from that
awesome Collection owned by Jim & Carol Raffa, How about 489's
Original Number Plate and marker lights. |
|
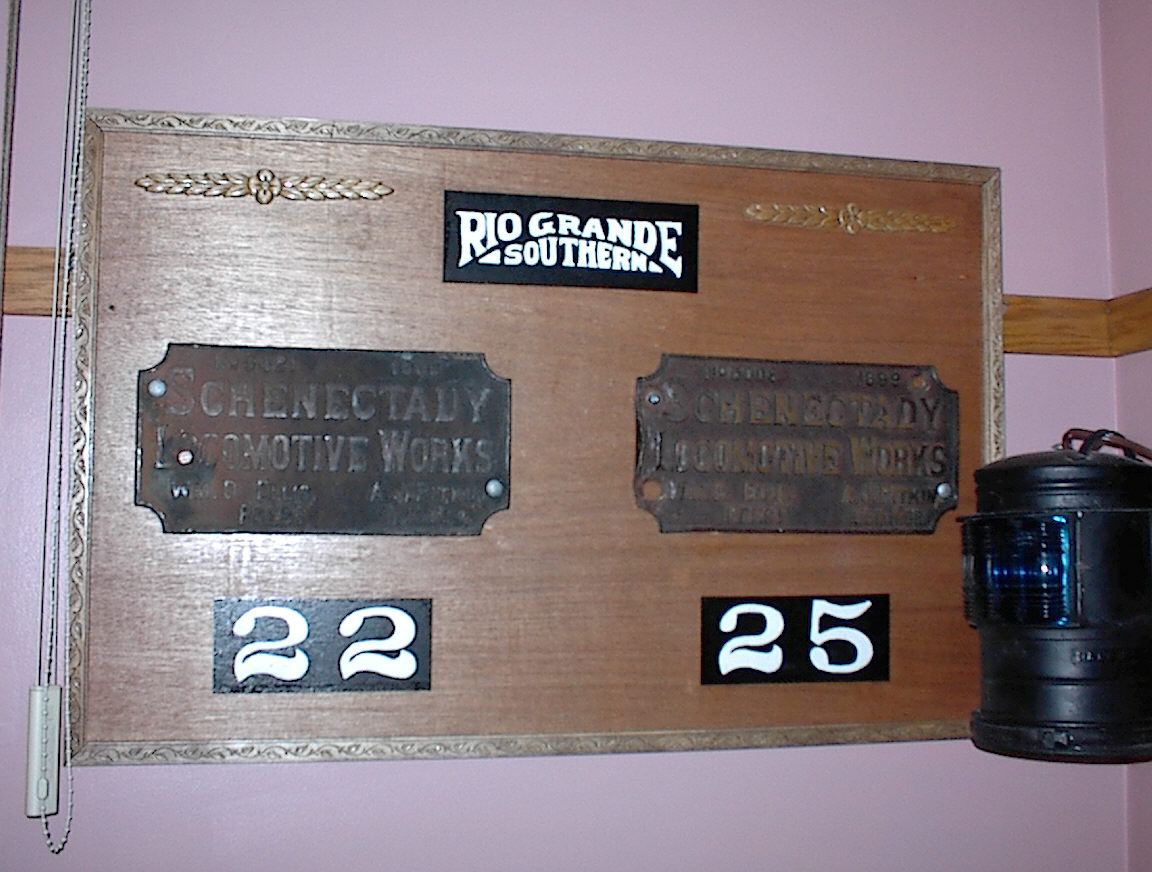
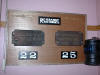 |
How about the Builder Plates for Rio Grande
Southern 22 & 25. |
|
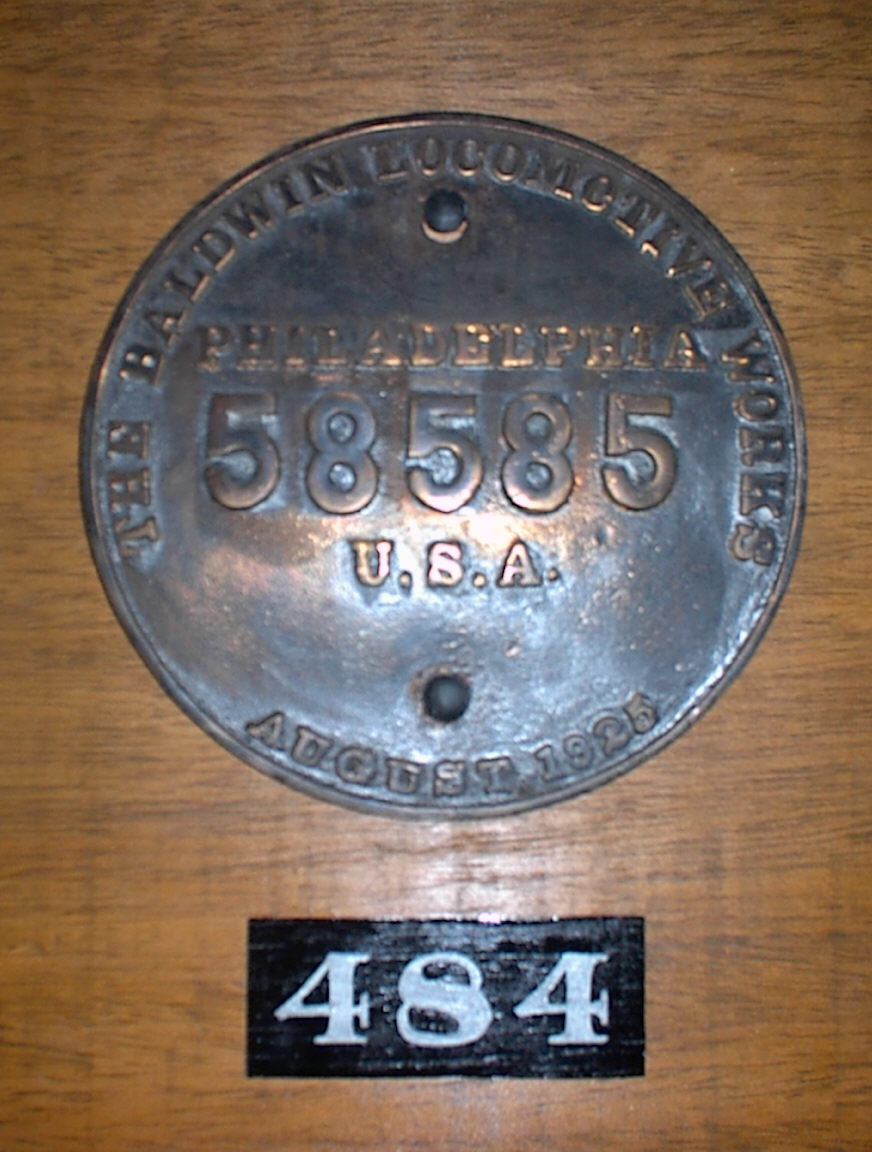
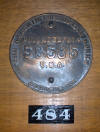 |
Here is the Original Builders Plate for
Locomotive 484.. |
|
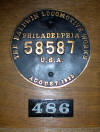 |
And the Original Plate for 486. Thanks to Jim
& Carol... |
|
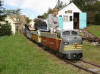 |
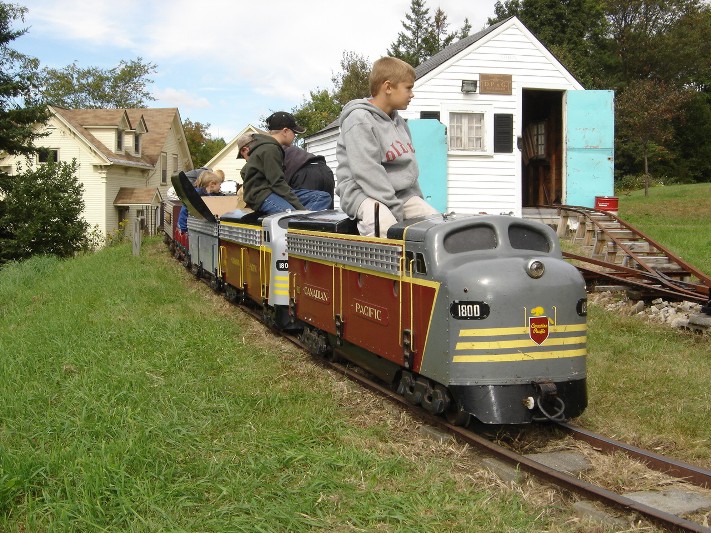
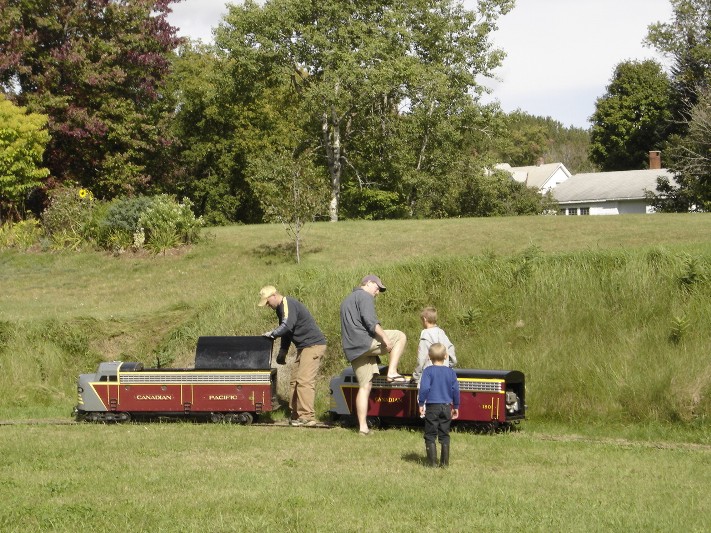
Here are some Picture's from a Friend of Mine Named Gary Aubin, The
Locomotive 1800 in the picture was Built in 1950 by Gary's Uncle
Paul Aubin. These Locomotives are not built to any Specific Scale
and are Powered by small gas Motors, but you will agree with me they
are Beautiful.. |
|
 |
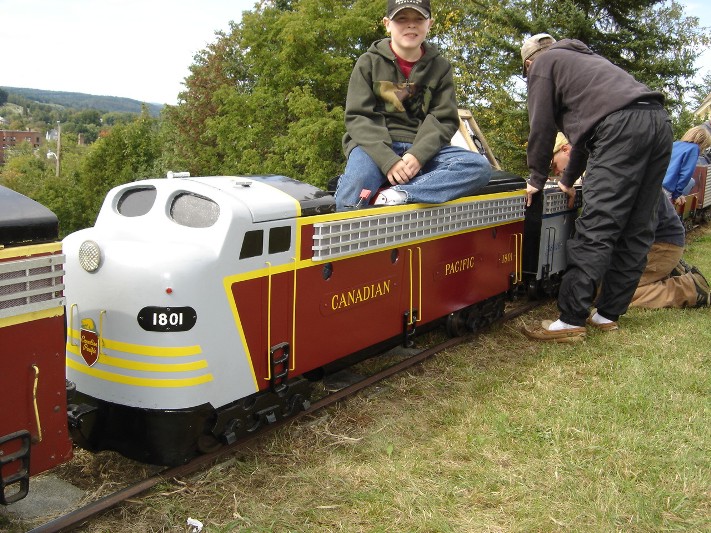
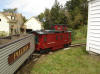
This Is Locomotive 1801 and it was built in the mid 1950's by Gary's
Brother Ron Aubin. |
|
 |
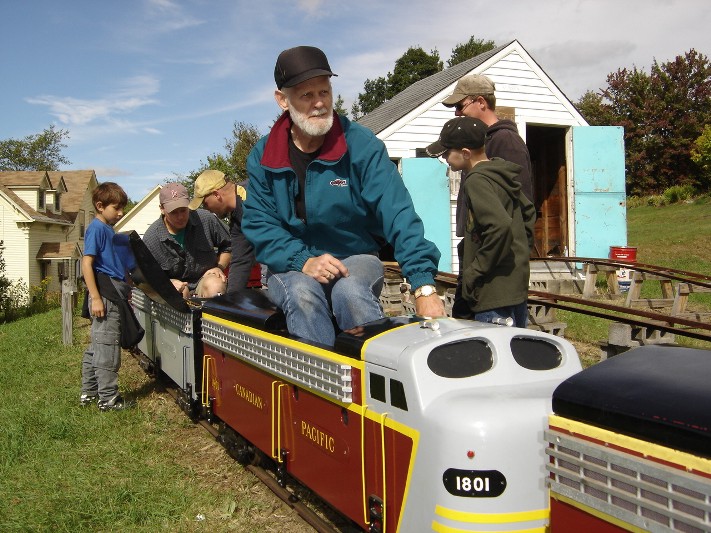
I love that Caboose, its a Beauty. |
|
 |
Aren't those Locomotives Amazing, I love them.. look in the
Background you can see elevated tracks going into the sheds. |
|
 |
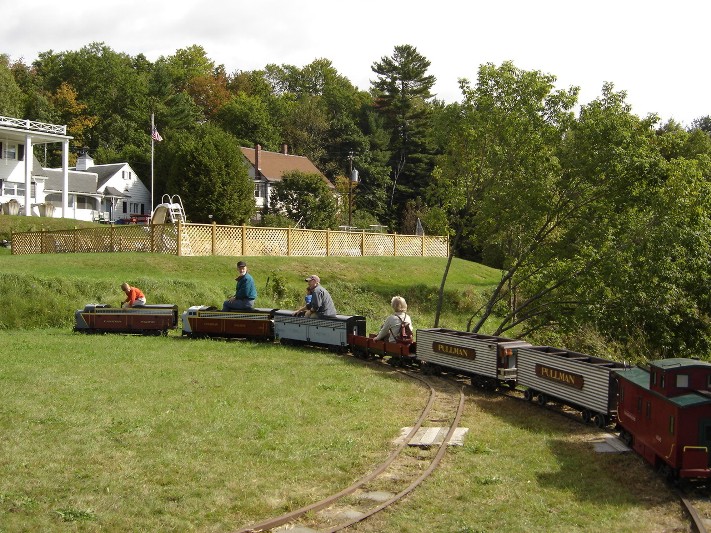
You can see a B-unit in the Train in this Picture and it was made
just a few years ago by Gary's Nephew C.J. Aubin.. |
|
 |
Here are 1800 and 1801... Thanks to Gary for these Picture's, they
are planning a Major Expansion and maybe Gary.. "Hint, Hint" will
send us some more Photo's. Thank you...
Gary also sent me
some Picture's from the Mt Washington Cog Railway and those will be
in a future Update. |
|

|
And a Quick Note, I always hoped this web-page could be used for
research also.. So I will be offering the Entire Locomotive 487
Rebuild Project on Photo Cd. The Project will be split into sections
as I finish them, nothing Fancy.. Just picture's on a CD. And I will
make you a deal, Lets Trade... For a few Blank CD-R Disc's or
"whatever else" to help the Web-site and Shipping, I'll send you the
First Photo Cd by Mail.. The First Photo Cd is Ready..it is the Nov
6th to End of Dec 2003 Picture's taken of 487's rebuild, it has
exactly 125 Picture's on the Disc.. Just e-mail me and I will get
the First Cd in the Mail to you... Thanks, Carlos"
And now the Second PhotoCd is Ready, it is Jan 6th 2004 to Feb
18th2004 and has 153 Pictures..
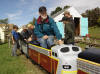
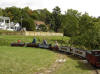
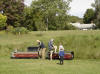
And again those are My Parents Pete & Consuelo Llamas and My
Sweety Erika Penninger and me... and this is my Parents Backyard in
Antonito about 40 yards from the Old Rio Grande Main Line still in
Use today.. |